
This post is intended to give some insights into how difficult it is to upgrade your existing Armstrong foil and mast to A+. This post shows pictures of how we have done it with some explanation to go with them.
Important!
This is not an instruction and upgrading is always at your own risk. As you can probable tell by the pictures and descriptions it is safe to say I am totally rubbish at DIY. If I can do it, so can you.
Tips:
- I started with the wings and continued with the masts. This worked best. The masts have kevlar inside which is going to make the angled drill bit blunt quite rapidly.
- I also used a high rpm drill as I have noticed this leaves a much cleaner hole.
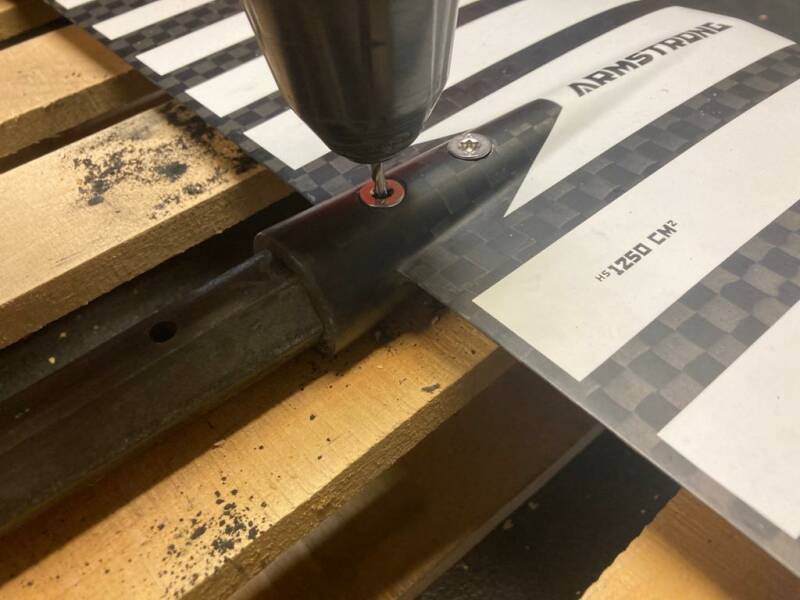
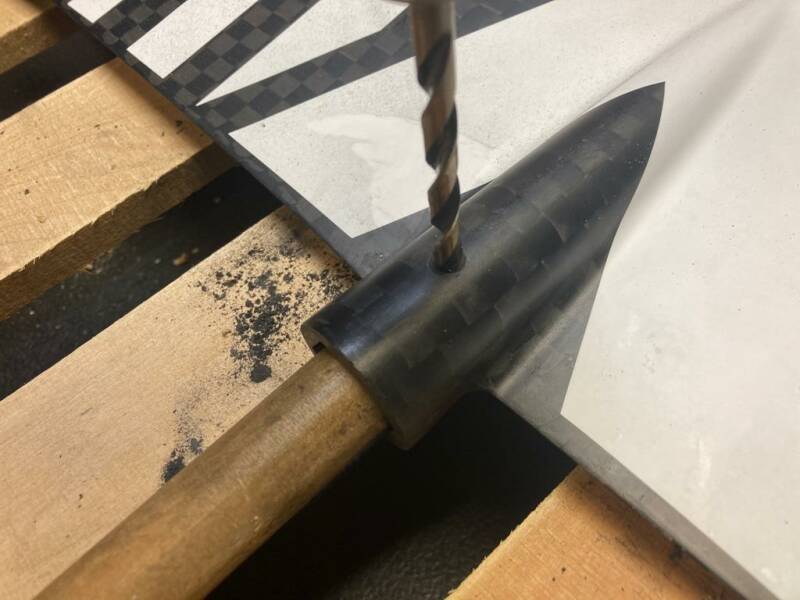
I put the fuselage into the wing and secured it with the screws. The upgrade kit came with a hollow screw that guides the drill. Put some wood underneath so the drill bit has somewhere to go when it goes through.
When the drill goes through you have a small hole exactly in the right place.
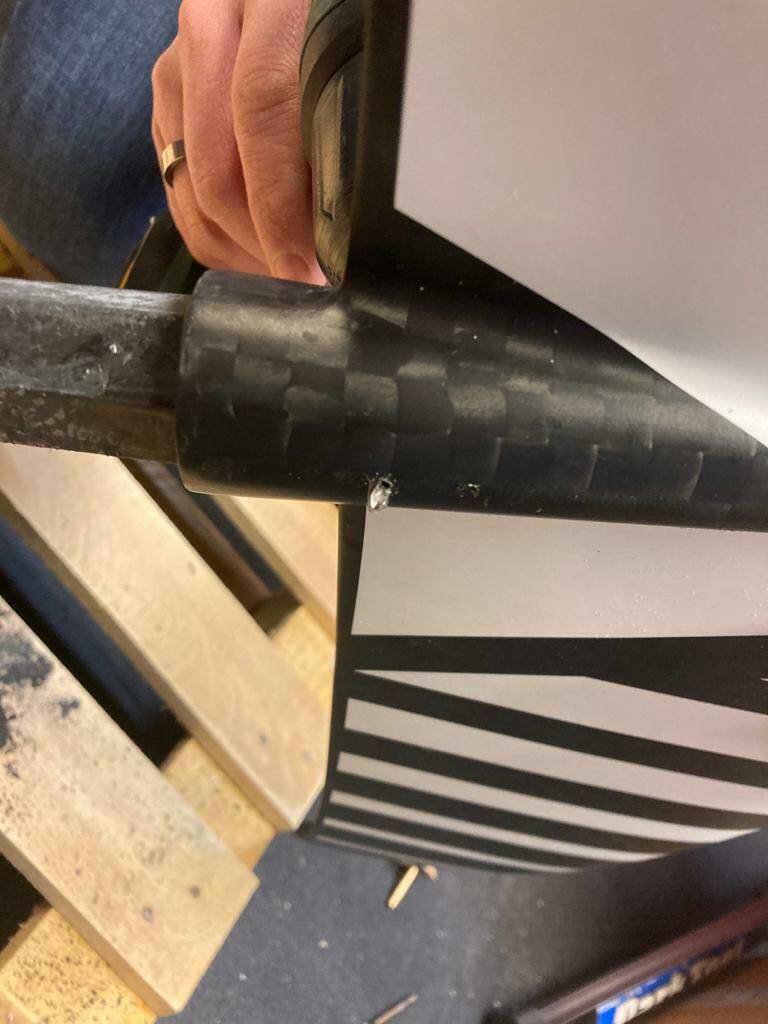
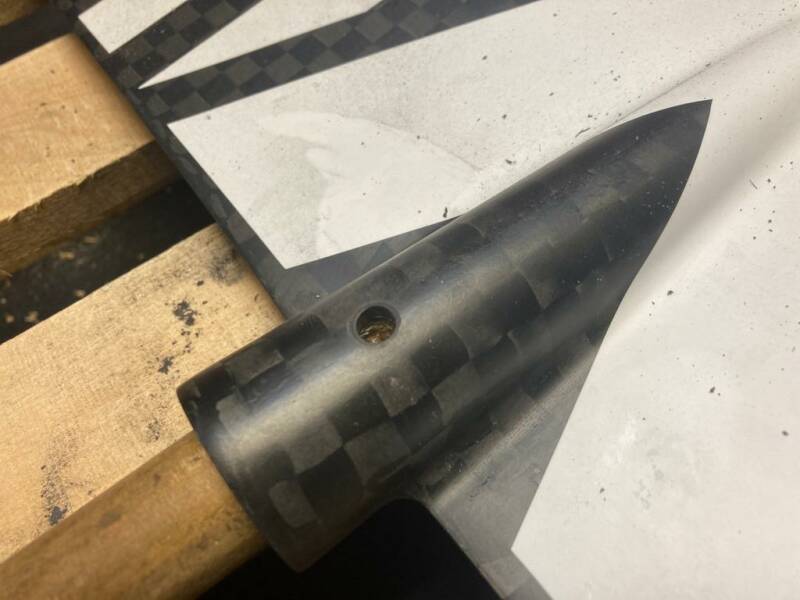
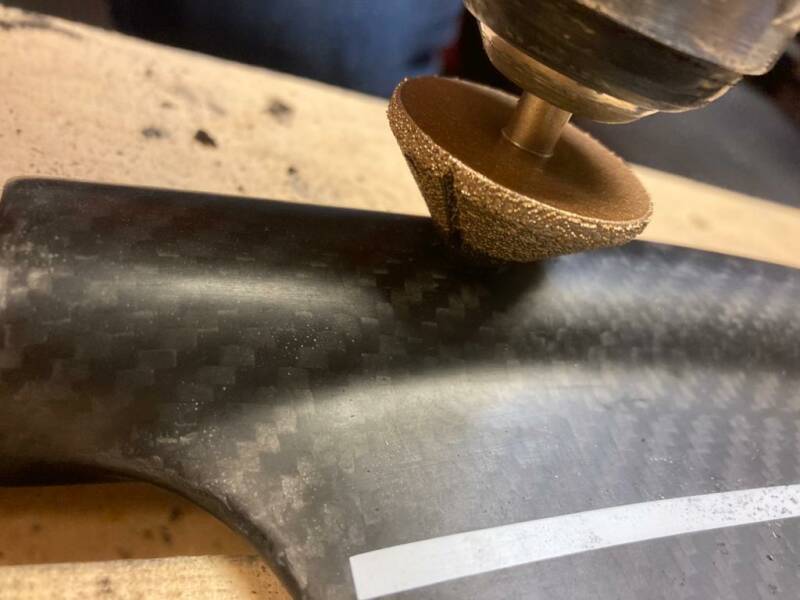
When there is a small hole, I first widened it with the angled drill bit. This makes it easier for the larger drill bits to go through and will ensure the carbon stays nice and smooth.
This is how it looked like with the widened hole.
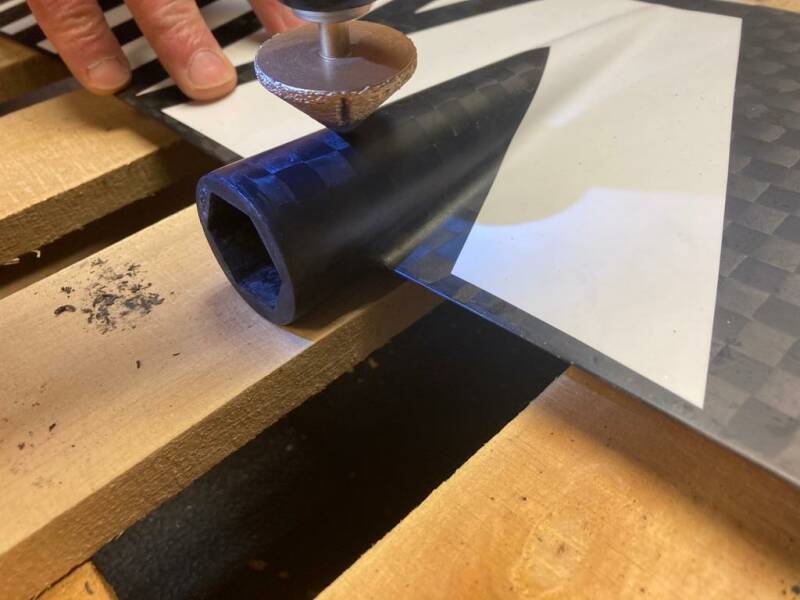
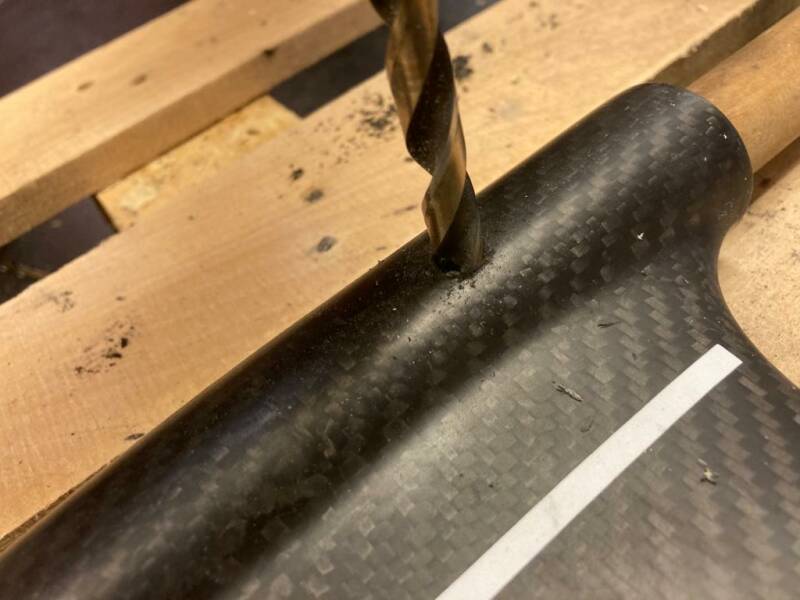
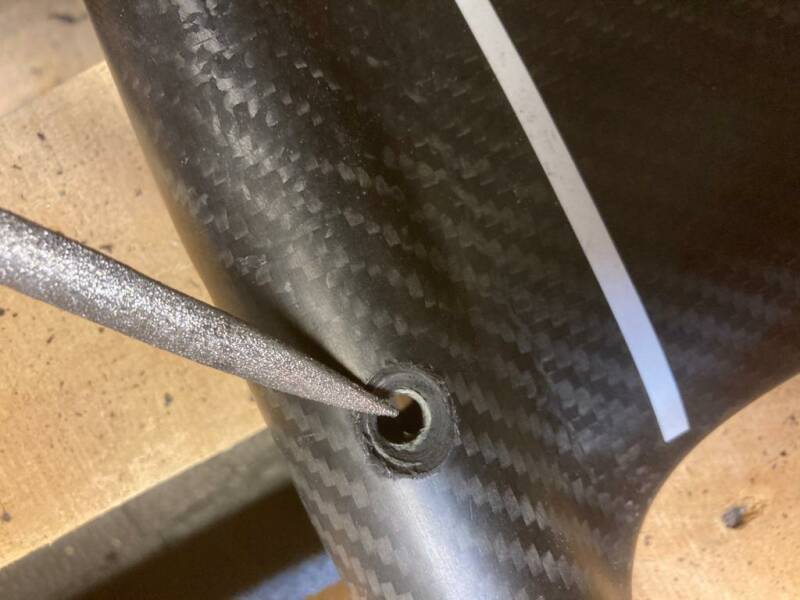
Now I took the larger drill bit. To make sure the drill has something to drill into and the carbon says smooth on the inside I put a wooden broomstick into the wing.
Since this hole is intended for the barrel nut I used the largest drill bit at the end to ensure it was wide enough for the barrel nut.
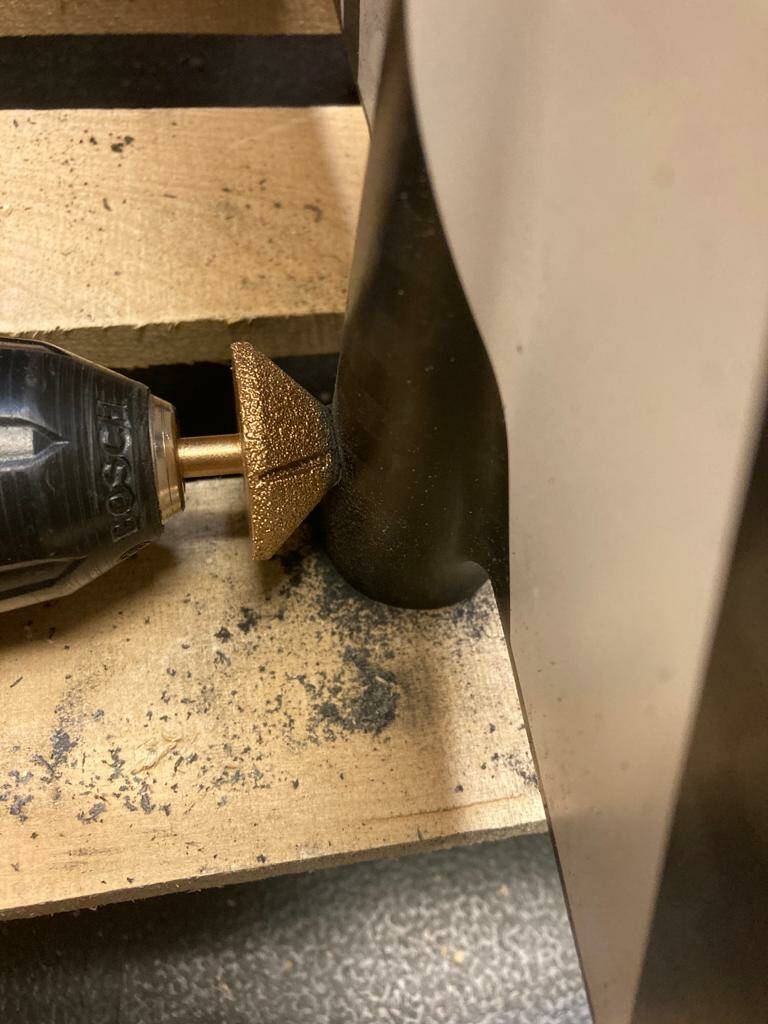
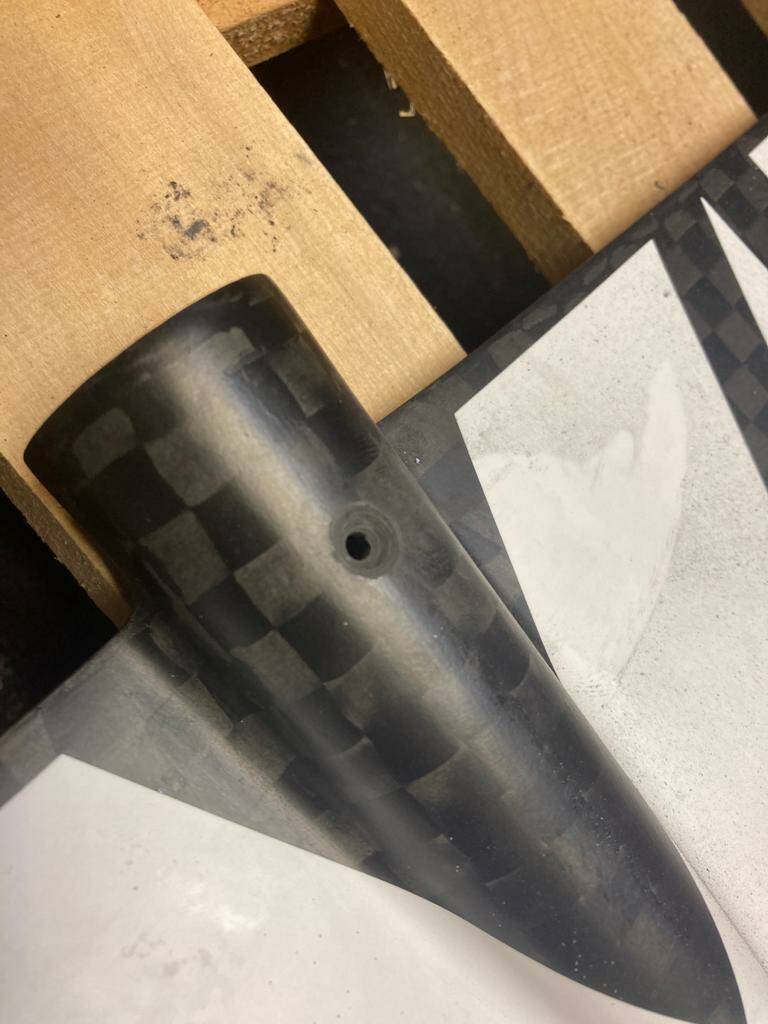
With the angled drill bit I widened the hole so the barrel nut can sink in.

I used the file to ensure there are no sharp edges and that the inside of the wing is totally smooth.

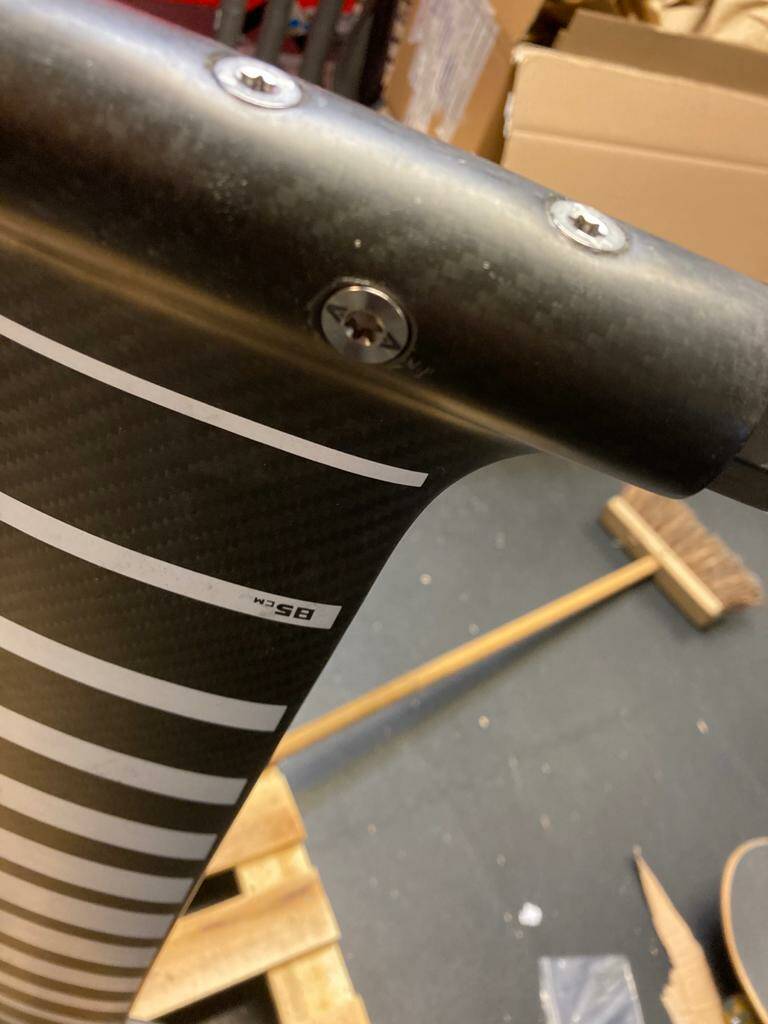
Final test was to put the fuselage back into the wing and screw it in place with the barrel nut. All was good! Successful wing upgrade!
Now we continued with the mast.

I have put the A+ fuselage through the mast. Important not to take your old one as it does not have the hole where the drill will go through. I screwed the aluminum part onto the mast and screwed the hollow screw into the side. Now I continued to finish of this side of the mast.

Same as with the wing I have widened the hole with the angled drill bit.

Next step is to use the larger drill. As you can see I have put the wooden broom handle into the mast, same as before with the wing. Bear in mind that one side needs a 6mm hole and the other side an 8mm. Make sure you triple check before drilling! Now I put the fuselage in and screwed it tight. I used the hollow screw to go through the side. I drilled it through the other side and repeated the steps. Hollowing it out, 6mm drill (with broom stick into the mast).
On the correct side I drilled an 8mm hole to accommodate for the barrel nut.
Same as with the wing I widened the hole so the screw can sink in. Obviously I did this on both sides. It might require some tweaking before the screw sinks in enough.
I removed any sharp edges with the file.
As a last step I put in the fuselage, tightened all the screws and made sure everything was okay.